
Choosing a Level Float: Density, Diameter, Pressure, Material
A wrong float produces two opposite failures: too light and it rides the surface all the way to the top and stops; too heavy and it sits on the bottom reading the lowest value forever. Four checks decide it, and the order matters.
One: float density must be below the medium density
Density is the hard gate. The standard float is rated at 0.7, so it only works in media above 0.7. Water at 1.0, hydraulic oil at 0.85 to 0.9 and diesel at 0.83 are all fine; petrol at 0.72 is borderline, and light solvents below 0.7 will not float it at all.
Density moves with temperature. Size against the density at the highest working temperature and keep at least 0.05 of margin. Sizing right at the limit produces a float that half-sinks as the tank warms up.
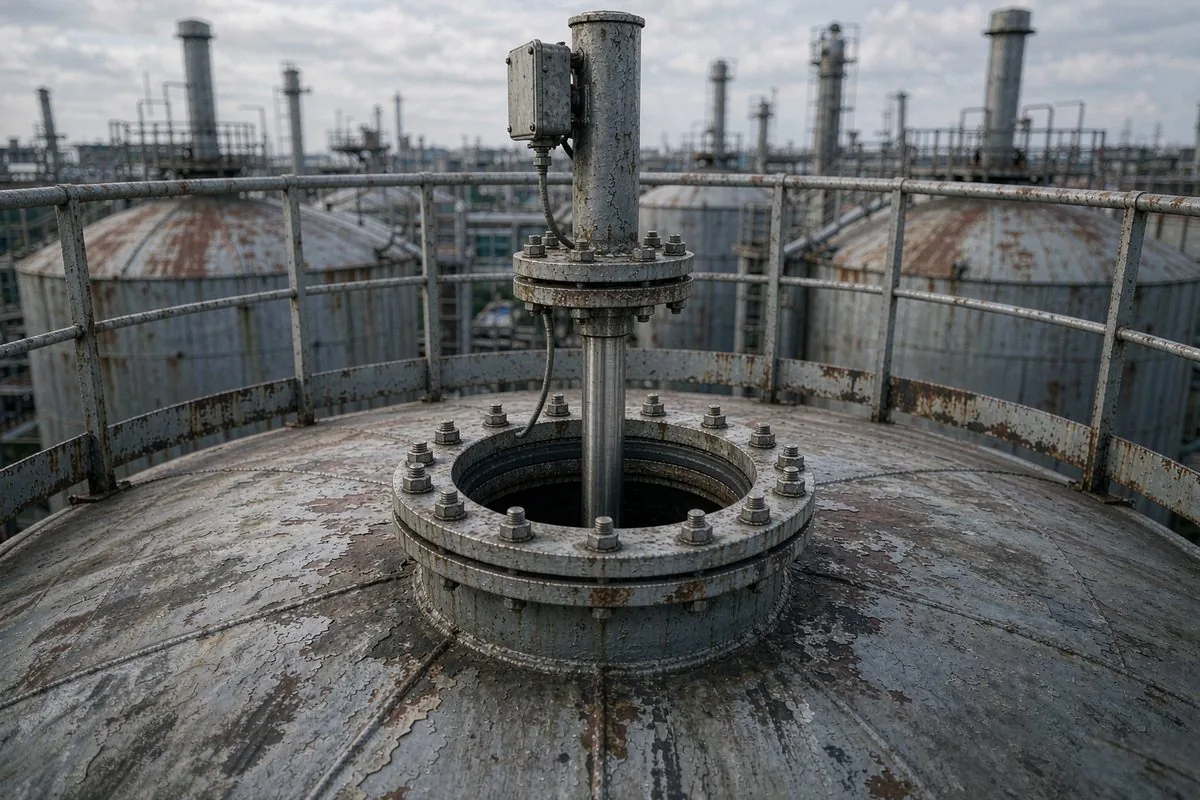
Two: diameter sets buoyancy margin, not the bigger the better
The standard float is 52 mm diameter by 52 mm tall. Buoyancy scales with displaced volume, but nozzle size, chamber bore and agitation all cap the diameter. A 52 mm float in a 60 mm chamber has 4 mm per side and will rub as soon as the medium gets viscous.
A simple rule: the float should weigh less than half the medium it displaces. A 0.7 density float in water displaces 1.43 times its own weight, which is ample; in a 0.75 medium the margin is only 1.07 and a thin coating will sink it.
Three: pressure rating refers to the tank, not the pump
The 40 bar rating describes the float itself. What you size against is maximum tank pressure, not pump discharge peaks. On atmospheric tanks and open pits the float rating is irrelevant; the flange and rod wall thickness are the real limits.
Vacuum tanks invert the problem: trapped gas inside the float expands and thin walls bulge. Specify a solid or thick-walled float there.
Four: bore and material go with rod and medium
The standard float has a 15 mm bore to suit common rod diameters. The stopper, 10 mm bore by 20 mm outside diameter and 13 mm tall, limits travel so the float cannot run past the active range or drop out at the tank mouth.
304 stainless covers water, oil and weak acids. Media with chlorides, or strong acids and caustics, need 316L: 304 pits there, and a pit through the wall floods the float. Above 120 degrees, re-check both material and weld procedure, because welded floats are vulnerable to stress corrosion when heat and chlorides combine.
The check order
Medium density, then diameter and buoyancy margin, then tank pressure and flange rating, then bore and material. Reverse the order and you do wasted work: choose the material first, discover the density is wrong, and the whole rod has to come out for a new sliding part.
After installation, park the level at mid-range, wait ten minutes, read once, then disturb the tank and read again. More than 0.5% of range between the two readings means the float is unstable in that medium.
One more check worth doing empty: push the float along the full rod by hand. Resistance should be light and even. A tight spot means a bent rod or scale, and that is exactly where the reading will stick later.
One line
The float is not an accessory. It is the part that defines which surface the reading follows, and if density fails, no accuracy figure downstream means anything.
Frequently Asked Questions
Q: The standard float is density 0.7. Can it measure petrol?
No. Petrol sits around 0.72, only 0.02 above the float, and warming drops it below. Specify a lighter float or change the measuring principle.
Q: Can I replace the float myself?
Yes, after depressurising, draining and confirming the rod is clean. Check stopper positions at the same time: a loose stopper is the usual reason a float runs past the active range.
Choosing a Level Float comes down to stroke, mounting style and output interface.magnetostrictive displacement sensorThe product range lists every series by stroke, mounting style and output interface, and is the practical starting point for selection.
← Back to News