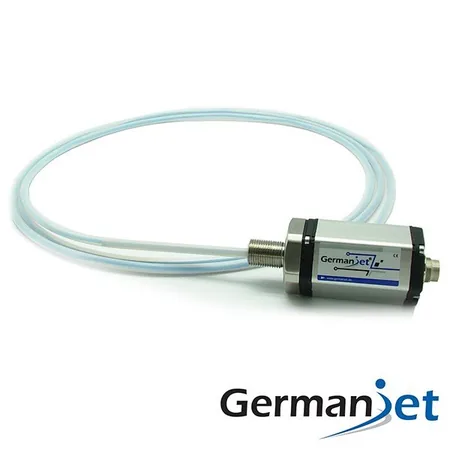
Magnetostrictive Displacement Sensor Shield: One End or Both
Shield earthing is the highest-share interference item on a magnetostrictive displacement sensor. Among site interference problems it is also the one most easily handled "by habit", and the one most easily handled "by habit". The conclusion first: analog signal loops default to one-end earthing on the control-cabinet side, with the shield left floating at the sensor end and insulated; fieldbus cables may use both-end earthing provided equipotential bonding is reliable, to suppress high-frequency common-mode interference. The two methods solve problems in different frequency bands; using the wrong one turns an anti-interference measure into an interference source. For the principle background see EMC: Why Strong Magnetic Fields Disturb Measurement; for fault presentation see Troubleshooting Magnetostrictive Displacement Sensors.

Why there is a one-end versus both-end argument
The role of the shield is to give interference current a low-impedance path back to the source. The problem is that the "earths" at the two ends of site equipment are often not the same potential. When welders, inverters or high-power contactors actuate, a transient potential difference appears between different points of the plant earth grid; if the shield is earthed at both ends, that potential difference will drive current along the shield, forming an earth-loop current. That current couples into the signal cores through the cable's distributed capacitance, appearing on an analog loop as low-frequency swing of the reading or a superimposed mains component.
Conversely, if only one end is earthed, the shield's equivalent screening of high-frequency (MHz-order) interference falls — because at high frequency the floating end is effectively earthed through distributed capacitance, and the shield may become a receiving antenna. That is why fieldbus cables tend to both-end earthing: a fieldbus is concerned with high-frequency signal integrity, and fieldbus cables are usually laid within the same control system, so equipotential conditions are better.
One-end earthing: which end, and how
Earth at the control-cabinet side (the signal receiving end), because the cabinet has the system reference earth and is convenient to manage uniformly. The practice is:
- Strip the shield at the cabinet entry and clamp it to the earth bar with a shield clamp (360° circumferential termination). Do not lead it with a thin "pigtail" wire — a long thin lead presents a large impedance at high frequency and shielding effectiveness is greatly reduced;
- At the sensor end, cut the shield short and sleeve it with heat-shrink for insulation, to prevent accidental bridging to the metal housing or connector shell that would form a second earth point;
- The earth bar must be reliably connected to cabinet PE, and must not share a terminal with the power-circuit neutral.
A common hidden error is: the shield is earthed on the cabinet side, while the sensor uses a metal-shell M12 connector whose metal housing is connected through the sensor body to the cylinder and the frame — equivalent to the sensor end also being earthed. Nominally one end, actually both. To check this, power off and measure shield-to-frame resistance; near a short means a second earth point beyond the cabinet. With power off measure the resistance between the shield and the machine frame with a multimeter; if it is close to a short, a second earth point exists. For connector selection see Selecting Waterproof M12 Connectors.
Both-end earthing: under what conditions
Both-end earthing is the better solution only when all of the following are met: the signal is a fieldbus or high-speed digital signal; the equipment at both ends of the cable is in the same equipotential bonding system (with a reliable bonding conductor); the cable is long and crosses a strong-interference area. A typical application is a CANopen / EtherCAT fieldbus segment inside the same machine.
If the site cannot guarantee equipotential bonding, a compromise can be used: one end earthed directly, the other through a small capacitor (high-frequency path, DC isolation), combining high-frequency suppression with blocking of the mains-frequency earth loop. For the full fieldbus-side troubleshooting approach see Troubleshooting Fieldbus Interference; for termination matching see Terminating Resistors and Bus Length: Why It Has to Be 120 Ω.
Measured differences between the two methods
| Dimension | One-end earthing (control-cabinet side) | Both-end earthing |
|---|---|---|
| What is suppressed | Mains-frequency and low-frequency earth-loop interference | High-frequency common-mode interference, RF coupling |
| Earth-loop risk | None | Significant when equipotential bonding is poor |
| Typical fault presentation | Insufficient shielding in a high-frequency environment | Reading swings with start/stop of high-power equipment |
| Recommended signal type | 4-20 mA / 0-10 V analog | CANopen / EtherCAT / Profibus and similar fieldbuses |
| Premises | No special requirement | Reliable equipotential bonding at both ends |
| Construction points | The other end must be insulated, to prevent hidden both-end earthing | Both ends need a 360° clamp circumferential termination |
Three things that matter more than the earthing method
Site experience is: before iterating on the earthing method, first confirm the three items below; their effect on interference is often larger than the one-end/both-end argument.
- Routing separation: sensor cables must be laid in a separate trunk from inverter output cables, solenoid-valve coil wires and power cables; where separate trunks are impossible, keep spacing and cross at right angles as far as possible; do not run in parallel over a long distance;
- Cable selection: twisted pair plus overall shield must be used; the higher the shield coverage the better. Ordinary sheathed cable with a layer of foil as a gesture equals no shielding;
- Treating the interference source itself: fit an output reactor on the inverter output side, and a freewheel diode or RC snubber in parallel with solenoid-valve coils, cutting peaks at the source — far more effective than patching on the signal side. For a practical remediation case see On-Site EMC Remediation Reviewed.
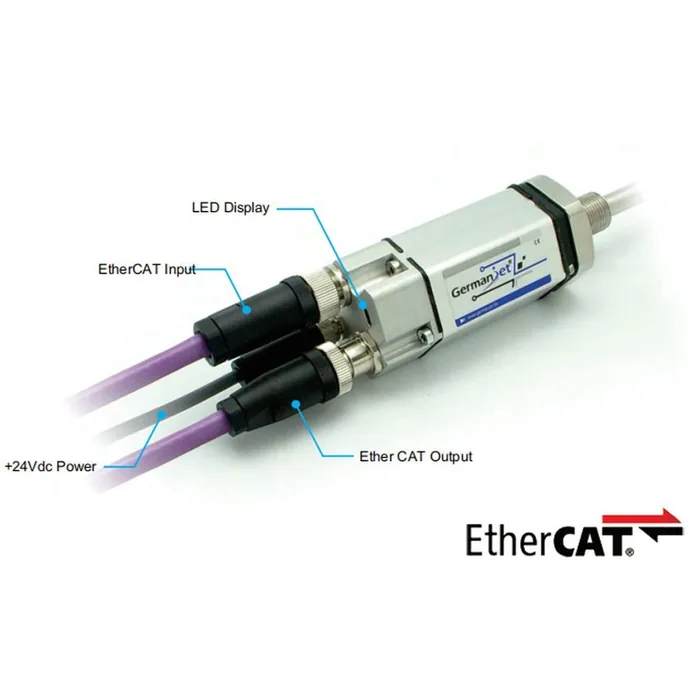
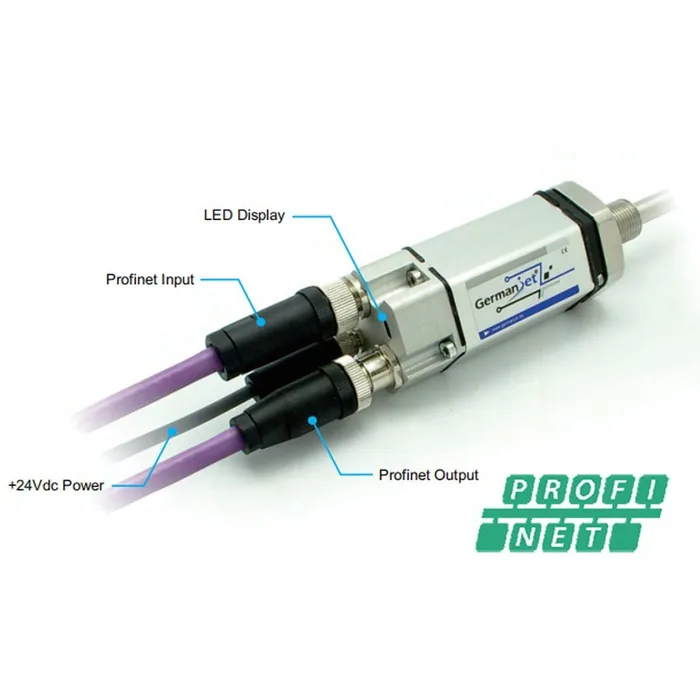
A product-side note: among analog types such as the 191 analog series, a 4-20 mA current loop itself has better noise immunity than 0-10 V voltage output; on long-cable applications prefer the current type. Fieldbus types such as the 197 EtherCAT series and the 199PROFINET series depend on shielded twisted pair and a specified topology. For a combined approach to long-distance transmission see Long Cable Runs and Their Three Constraints.
How to verify whether an earthing change has improved things
Do not go only by "it feels more stable". An executable verification: with the machine at rest, start and stop the largest interference sources (inverters, welders, high-power motors) several times under actual duty, and use a PLC trend record or an oscilloscope to observe the peak-to-peak fluctuation of the position reading, recording one set of data before and after the earthing change for comparison. If the peak-to-peak does not fall clearly after the change, the main interference path is not on the shield; go back to routing and the interference source. For the full criteria of jump-class problems see Signal Jump Troubleshooting Flow.
Practical tips for engineers
- Analog outputs are factory-calibrated slightly wider than the nominal stroke; after installation the machine must be recalibrated.
- Two-point method: Slope = actual displacement ÷ (end-of-stroke reading − zero reading); Datum = Slope × zero reading; machine position = (Slope × present reading) − Datum.
- Example: zero reading 0.2 V, after a 98 mm move the reading is 9.5 V → Slope = 98 ÷ (9.5 − 0.2) = 10.537, Datum = 10.537 × 0.2 = 2.106.
Frequently Asked Questions
Q: Why is the reading less stable when the shield is earthed at both ends?
Because a potential difference exists between different earth points in the plant; with both ends earthed that difference drives current along the shield and forms an earth loop. The current couples into the signal cores through distributed capacitance, appearing on an analog loop as low-frequency swing of the reading or a superimposed mains component, especially when high-power equipment starts and stops.
Q: Can the shield also serve as the equipment protective earth?
No. The shield only carries an anti-interference function; conductor cross-section and connection method are not designed for fault current. Protective earthing of the equipment housing must be made separately with a specified PE conductor; the two must not be mixed, otherwise it is both unsafe and will bring fault current into the signal loop.
Q: How do I check for hidden both-end earthing?
With power off, measure the resistance between the shield and the machine frame with a multimeter. If it is close to a short, a second earth point exists besides the cabinet side. A common cause is a metal-shell connector on the sensor, the housing connected through the sensor body to the cylinder frame — nominally one end, actually both.
Q: Earthing has been changed and there is still interference. What next?
Check routing and the interference source. Sensor cables running in the same trunk, in parallel, with inverter output cables and solenoid-valve wires is the most common coupling path; a contrast test can be made by temporarily pulling the cable out of the trunk and running a section in free air. Also treat at the source: a freewheel diode or RC snubber on solenoid-valve coils, and a reactor on the inverter output side.
Related Products
Related Applications
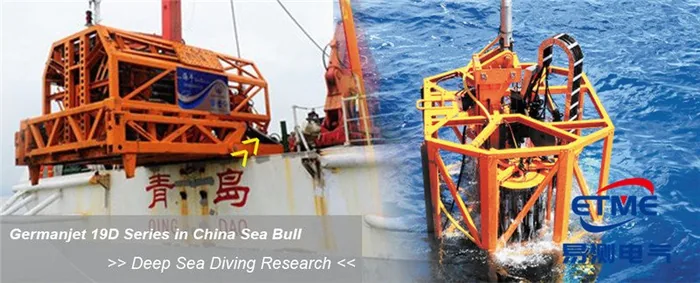
Series 19D Split-Type Process Displacement Sensor Application Cases
View Details
Series 19H Cylinder-Integrated Process Displacement Sensor Application Cases
View Details
Series 19P External Rod Process Displacement Sensor Application Cases
View Details