Magnetostrictive Displacement Sensor: No Output in Three Checks
A magnetostrictive displacement sensor that gives no reading usually fails at one definite link; the first check is the +24 V supply at the connector, not opening the head. "No reading at all" is easier to troubleshoot than "the reading is inaccurate", because it usually corresponds to a definite break. The effective order is three steps: first confirm the supply, then confirm the signal loop, finally confirm the magnet. The order must not be reversed — stripping the magnet before the supply is confirmed is the most common waste of time on site. This article gives the specific measurement points and criteria for each step. For the fault overview see Troubleshooting Magnetostrictive Displacement Sensors; if a reading is present but inaccurate, go to Tracking Down Reading Errors.
Step one: supply — measure with a multimeter first, do not watch the indicator lamp
Measure supply voltage at the sensor connector (not at the power-module outlet). This point is critical: voltage drop on a long run, oxidised terminals and water in the connector can all leave the power outlet healthy while the sensor end is insufficient. Measurements include:
- whether supply voltage is within the type's stated range;
- whether voltage dips when the machine is running (healthy off-load, insufficient on-load is typical of inadequate conductor size or excessive voltage drop);
- whether the supply common is connected to the sensor signal earth.
A common pitfall: several sensors share a small-capacity supply; after units are added one by one the total current exceeds capacity, appearing as "the last one connected has no output". Another is a terminal that looks clamped but is actually on the cable insulation; a multimeter measurement exposes it at once. For how to budget voltage drop on a long-distance supply see Long Cable Runs and Their Three Constraints. On 4-20 mA read the loop current; on SSI or a fieldbus read the master error frame instead of a voltage.
Step two: the signal loop — verify by interface type
After the supply is confirmed healthy, verify that the signal can be sent out and received. The criteria differ by interface.
| Interface type | Measurement point and method | Healthy criterion | If abnormal, it points to |
|---|---|---|---|
| 4-20 mA current loop | Insert a multimeter in series and measure current | Current in the 4–20 mA interval, changing continuously as the magnet moves | 0 mA: broken wire, reversed polarity or missing supply; <3.6 mA or >21 mA: entered the fault-alarm region (magnet lost, over-range or an internal fault); constant but within range: magnet not moving or mechanically disconnected |
| 0-10 V voltage output | Measure DC voltage from the signal terminal to earth | Voltage changes with magnet position | Constant 0 V: broken wire or output stage damaged |
| Start-Stop pulse | Oscilloscope on the pulse train | Start/stop pulse pairs visible | No pulses: controller not triggering, or wiring wrong |
| SSI | Oscilloscope on clock and data lines | Clock valid; data changes with position | Clock present, no data: wiring/timing mismatch |
| CANopen / EtherCAT and similar fieldbuses | Master scans nodes; watch diagnostic counts | Node online; position object refreshing | Node not online: address / baud rate / terminating resistors |
The three places wiring itself is most easily got wrong: connector pin-out read from the wrong type (pin-outs are not interchangeable across series; see Spare Parts Replacement), the shield landed on a signal terminal by mistake, and current-loop polarity reversed. Pin-out checks must use this type's wiring diagram; do not wire from memory of the last machine. For fieldbus wiring practice see A Practical CANopen and EtherCAT Guide.
Step three: the magnet — the "no output" cause most easily missed
If supply and wiring are both healthy yet there is no reading, the likely cause is that the sensor has not detected a magnet at all. Magnetostriction relies on the magnet to trigger the torsional wave; without a magnet there is no echo, and the output presents a fault value (depending on type: a lower-limit value, zero, or a specific fault code). Checks:
- Whether a magnet is fitted: an installation omission is not rare at new-machine commissioning, especially when a cylinder-integrated type is pre-fitted by the cylinder maker;
- Whether the magnet is inside the effective measuring range: parked in a dead zone at either end it is likewise unreadable; see Dead Zones at Both Ends of the Effective Range;
- Whether magnet orientation and type are correct: reversed or a substitute magnet may make the echo too weak to detect; see How to Choose the Permanent Magnet (Position Magnet);
- Whether clearance is too large: an external bracket offset will take the magnet far from the rod, and the field will be insufficient to trigger; see Five Magnet Installation Pitfalls.
A quick verification: take a known-good test magnet, move it by hand along the rod and watch whether the output changes. If the test magnet can be read and the original magnet cannot, the problem is locked on the original magnet and its installation, unrelated to the sensor body. For the complete method see Commissioning Tool: Use a Test Magnet to Separate Body Faults from Installation Problems in 5 Minutes.
What if all three steps pass and there is still no output
Only then is there reason to suspect the body or the controller side. Continue in this order:
- Controller channel: connect the sensor to another known-good AI channel / fieldbus port, to exclude a damaged or unconfigured channel;
- Configuration and range setting: the wrong PLC channel type (a current channel configured as voltage) will read zero; this is not a sensor problem;
- Substitution: substitute a spare of the same type; if it can be read, the body is faulty; if it still cannot, the problem is on the system side. Before substituting, pin-out and parameters must be checked; see Spare Parts Replacement.
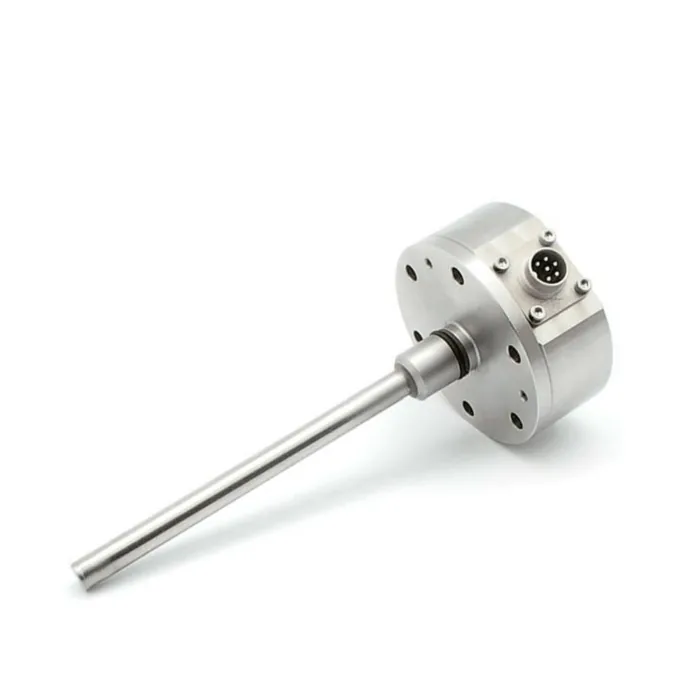
A product-side note: on cylinder-integrated types such as Series 16 cylinder-integrated and Series 17 hydraulic cylinder integrated, the magnet moves with the piston and cannot be confirmed by eye, so the "test-magnet method" is almost the only practical site means; on an external type such as Series 18 external the magnet-slider position can be inspected directly.
Prevention before start-up: three actions that can save one emergency repair
- After wiring is complete and before power-up, check continuity pin by pin with a multimeter continuity range — safer and faster than checking after power-up;
- At first power-up park the magnet at mid-stroke, away from the dead zones, to avoid a false "no output" judgement;
- Print a copy of the wiring diagram and pin-out and keep it in the electrical cabinet, so the next shift does not have to hunt through documentation.
Practical tips for engineers
- The position magnet must not touch the sensor rod; the design clearance between them must be maintained.
- Fix the position magnet with screws, spacers and similar parts made of non-magnetic material, to avoid ferromagnetic parts disturbing the measurement.
- An M6 hexagon-socket setscrew is recommended for locking the position magnet — this screw is not supplied with the sensor and must be prepared separately.
Frequently Asked Questions
Q: Voltage at the power-module outlet is healthy. Why does the sensor still have no output?
It must be re-measured at the sensor connector. Resistive voltage drop on a long run, oxidised or loose terminals, and water in the connector can all leave the power outlet healthy while voltage at the sensor end is insufficient, especially when the machine is on load and several sensors share one supply. Measurement should be made with the machine in actual running.
Q: Supply and wiring are both fine. Why is there still no reading?
The sensor has likely not detected a magnet. Magnetostriction relies on the magnet to trigger the torsional wave; without a magnet there is no echo, and the output presents a fault value. Common causes include a magnet omitted at installation, the magnet parked in a dead zone at either end of the measuring range, the magnet reversed or an unmatched substitute used, and an external bracket offset making clearance too large.
Q: What does a 4-20 mA output reading 0 mA mean?
It can essentially be judged as a broken wire, missing supply or reversed polarity. 4-20 mA is a live-zero signal; in healthy operation there is at least 4 mA of output. Reading 0 mA means the loop has not formed at all; check wiring and supply first, rather than suspecting the measuring section.
Q: Where should I start when a fieldbus node is not online?
Look first at the master's node-scan list; if the node is not online at all, measuring the signal wires is of little use. Check in order whether node addresses conflict, whether the baud rate is consistent network-wide, whether there is one 120 Ω terminating resistor at each end of the bus (about 60 Ω between the differential pair with power off), then whether connectors have taken water or damp.
Related Products
Related Applications

Multi-Industry Application Cases for Magnetostrictive Displacement Sensors
View Details
Series 16 Hydraulic Rod Magnetostrictive Displacement Sensor Application Cases
View Details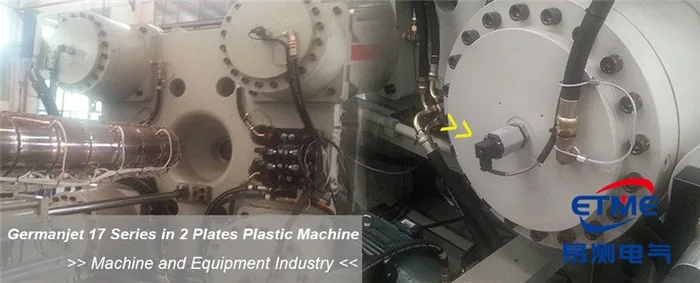
Series 17 Hydraulic Cylinder Integrated Magnetostrictive Displacement Sensor Application Cases
View Details