Multi-Axis Synchronisation of Magnetostrictive Displacement Sensors: A Common Reference, One Range and Time Alignment
Multi-axis synchronisation is decided by the consistency of each magnetostrictive displacement sensor over the same measuring range, not by the best single accuracy. On multi-axis synchronous machines (four-column presses, multi-cylinder levelling, gantry beams), even a highly accurate single sensor is not enough — what determines synchronisation accuracy is consistency among the sensors. Calibrating multiple sensors must solve two things at once: spatially, bring every axis to the same physical reference, and in time, align the sampling instants of every axis. The former is a calibration procedure; the latter is a communication architecture. This article gives the practical methods for both. For the meaning of accuracy figures, see the three accuracy terms; for the calibration principle, see factory calibration and linearisation; for multi-axis selection, see multi-axis synchronisation selection.
Step 1: establish a common mechanical reference
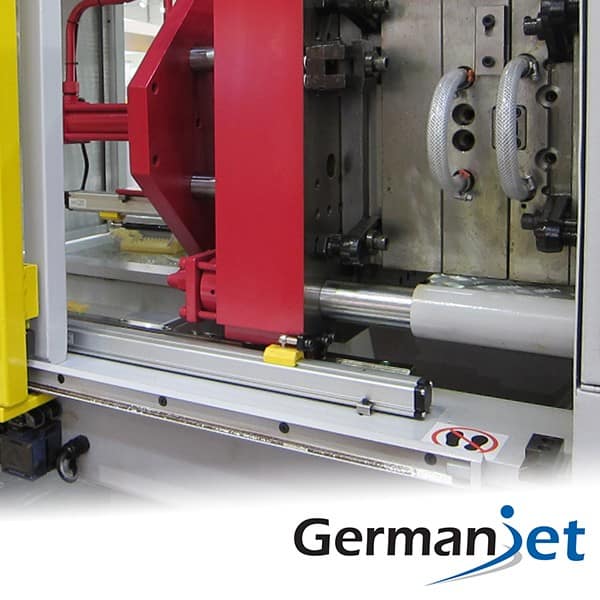
Multi-axis calibration starts with the mechanics, not the sensors. A single physical datum face for the whole machine must first be defined (for example the upper face of the table, the lower die face, or a machined datum on the frame). Every axis zero is defined relative to that face, not relative to each cylinder's own retracted position.
Method: use a spirit level, gauge blocks or a laser levelling tool to bring the moving beam parallel to the datum (or to the same set height). In that state, read the raw value of every sensor at the same time and take that set of values as the zero offset of each axis. Then, whenever the axis readings are the same, the beam is necessarily level — which is exactly the semantics that synchronous control needs.
A common mistake is to zero each axis independently against its own mechanical limit. Because cylinder assembly dimensions differ, after calibration "every reading is 0" but the beam is not level, and the synchronising controller works to hold a skewed state. Set one common zero for all axes; leaving each sensor on its own datum shows up as a fixed offset between axes.
Step 2: unify the span coefficients
Calibrate the span of each axis by the two-point method (see zero calibration step by step), but the calibration stroke must fall in the same physical interval. If axis A is calibrated over 0–500 mm and axis B over 50–550 mm, each coefficient may be correct on its own, yet the synchronisation error will change with position. After the interval is unified, the reading difference among axes is comparable at any position over the full stroke.
Step 3: full-stroke consistency verification
After calibration, run a full-stroke synchronisation check: move the axes together, stop at several positions, and record each reading against the actual mechanical position. There are two criteria:
- Inter-axis difference: the maximum difference among the axis readings should lie within the machine's synchronisation-accuracy requirement;
- Shape: if the inter-axis difference is constant over the full stroke, the zeros are not aligned — re-reference to the datum; if it grows with stroke, the span coefficients are inconsistent and must be re-calibrated; if it appears only locally, that axis has a mechanical or magnet problem — see tracking down reading errors.
Be realistic about the expected error magnitude: non-linearity is typically <0.02%FS and must be converted to millimetres for each axis range before being stacked; repeatability of the order of ±0.002 mm is a laboratory figure and will degrade on site with vibration and temperature drift. Setting a synchronisation-accuracy requirement tighter than the sum of these figures cannot be achieved by calibration.
Step 4: time alignment — the half that is often ignored
Once the spatial references are aligned, inconsistent sampling instants among axes still produce "false synchronisation error" during motion. The faster the speed, the larger the position difference caused by sampling time skew. Time consistency of different architectures differs as follows:
| Architecture | Time consistency | Notes | Application |
|---|---|---|---|
| Multiple analog channels + one AI module | Depends on whether the module samples synchronously | Time-multiplexed AI modules have inter-channel time skew | Low speed, modest synchronisation demand |
| Multiple analog channels + multiple modules | Poor | Module refreshes are not synchronised; skew stacks | Not recommended for high-speed synchronisation |
| CANopen multi-node | Medium; can be improved with a SYNC telegram | Use the SYNC mechanism so that nodes sample at the same instant | Medium-speed multi-axis |
| EtherCAT distributed clocks | Good | The DC mechanism aligns each slave time base | High-speed, high-accuracy synchronisation |
| PROFINET IRT | Good | Isochronous cycle is determined | High-speed, high-accuracy synchronisation |
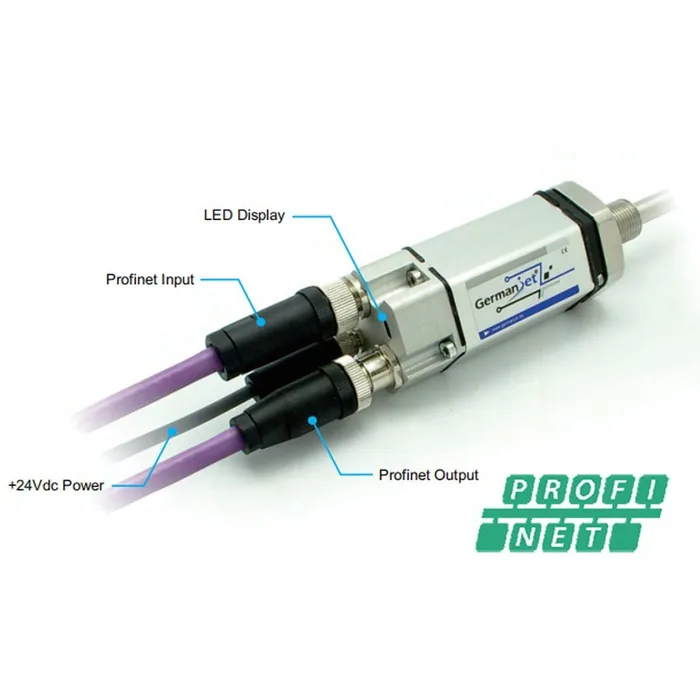
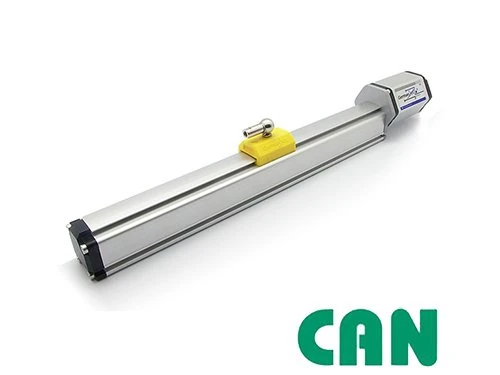
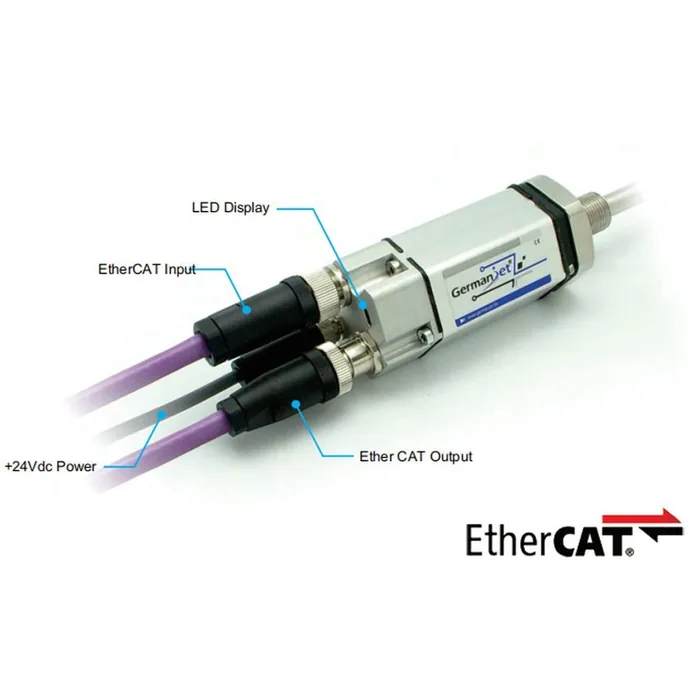
Therefore, for multi-axis systems with a demanding synchronisation-accuracy requirement, choose from the selection stage a fieldbus model that supports a synchronisation mechanism, such as the Series 197 EtherCAT, the 199PROFINET series or the Series 194 CANopen (used with SYNC; baud rate up to 1 Mbps). Fieldbus synchronisation mechanisms are covered in power-loss retention and synchronous refresh on fieldbus types; matching update rate to the control cycle is in response time and the control cycle.
When to re-calibrate in service
The following cases require a fresh synchronisation calibration; old parameters must not be retained:
- Replacement of any sensor or position magnet (the new part has a different zero offset; see spare parts replacement);
- Cylinder overhaul, seal replacement or adjustment of limit stops;
- A structural change to the frame, or an impact event;
- A sustained rise in synchronisation-error alarms, or a clear shift in the inter-axis-difference baseline.
Archive the "inter-axis difference versus position" curve from the first calibration as a health baseline. Later, comparing the shape of the curve quickly shows which axis has degraded. The idea is the same as comparison in a redundant system; see redundant installation comparison.
Practical tips for engineers
- 19F front dead zone: 50 mm for strokes <8000 mm, and 130 mm for strokes >8000 mm. Deduct this when calculating the effective stroke at selection.
- Total sensor length tolerance: +8 mm for strokes <8000 mm, and +15/-5 mm for strokes >8000 mm. This tolerance does not affect the measuring stroke.
- The 19F minimum stroke is 250 mm; choose another series for shorter strokes.
Frequently Asked Questions
Q: Can each axis be zeroed against its own mechanical limit?
No. Cylinder assembly dimensions differ, so after independent zeroing the readings may all be zero while the beam is not level, and the synchronising controller will work to hold a skewed state. The correct method is to level the moving beam first, then read every raw value in that state as each axis's zero offset.
Q: Static synchronisation is acceptable but dynamic running exceeds the tolerance. Where is the problem?
Usually a time-alignment problem rather than a calibration problem. When axis sampling instants are inconsistent, motion produces a speed-related false synchronisation error that grows with speed. Switch to a fieldbus scheme that supports SYNC telegrams or distributed clocks, so that every axis samples at the same instant.
Q: Can the synchronisation-accuracy requirement be set tighter than the sensor specifications?
No. The inter-axis difference at least includes each axis's non-linearity converted to millimetres for the range, the repeatability order of magnitude, the inherent mechanical-chain difference and temperature drift. Setting a synchronisation-accuracy requirement tighter than the sum of these errors cannot be achieved by calibration and will only produce persistent alarms.
Q: After replacing the sensor on one axis, do all axes need re-calibration?
That axis at least must be re-calibrated, and the inter-axis-difference baseline of all axes must be re-captured. The new part's zero offset and factory parameters differ; retaining old parameters introduces synchronisation error immediately. Recheck the remaining axes at the same time and confirm that the baseline curve shape has not changed.
Related Products
Related Applications
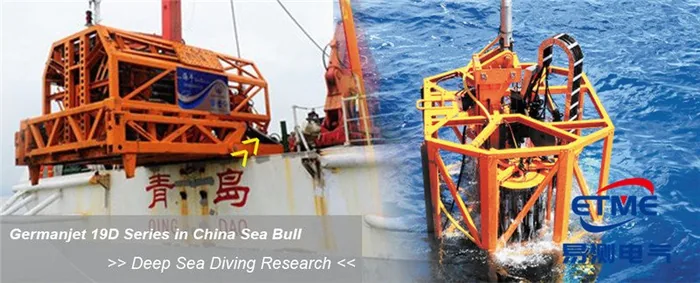
Series 19D Split-Type Process Displacement Sensor Application Cases
View Details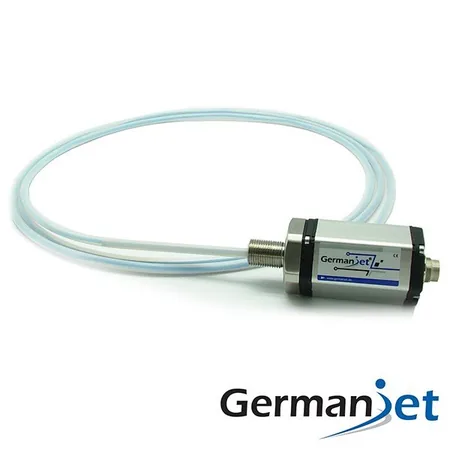
Series 19F Flexible Process Displacement Sensor Application Cases
View Details
Series 19H Cylinder-Integrated Process Displacement Sensor Application Cases
View Details