Magnetostrictive Displacement Sensor Zero Calibration, Done Right
Zero calibration of a magnetostrictive displacement sensor aligns its electrical position with the machine's mechanical position. In essence it establishes a one-to-one correspondence between the sensor's "electrical position" and the machine's "mechanical position". A magnetostrictive displacement sensor outputs absolute position and does not lose position on power-down (see Absolute vs. Incremental Position), so zero only needs to be set correctly once at installation and does not need homing at every power-up. This article gives the calibration order for analog and fieldbus interfaces, how to write the controller-side parameters, and the three most common site calibration errors. For installation preconditions see Installing Magnetostrictive Displacement Sensors in Practice; for the principle of factory linearisation and dead-zone compensation see Factory Calibration and Linearisation.
Three things that must be confirmed before calibration
If the order is wrong, the calibration is wasted even if it is completed.
- Mechanics are in their final state: cylinder assembled, end-stops fixed, brackets tightened. If the mechanical stroke later changes, all calibration values are void;
- Magnet installation has been verified: coaxiality, clearance and anti-loosening have all been confirmed, and a manual full-stroke pass shows no jumps; see Five Magnet Installation Pitfalls;
- Wiring and earthing have been fixed: the shield-earthing method is decided and will not be changed; see Shield Grounding at One End or Both. If the analog loop's earthing is changed after calibration, zero will follow it.
Step one: determine the mechanical reference point
Choose a physical position that can be reached repeatably and will not change long-term as zero. Priority from high to low: a mechanical hard stop (piston fully retracted or against a stop face) > a process datum face > an arbitrary mid position. Do not choose a "looks about right" mid position as zero, because it cannot be reproduced after a parts swap.
Note the dead zones at both ends of the effective measuring range: each end of the rod has a stretch that cannot be measured. Zero should not be pressed against the edge of a dead zone; leave margin into the measuring range, otherwise the reading will lose lock when the piston arrives. For why dead zones exist see Dead Zones at Both Ends of the Effective Range.
Step two: read the raw position value
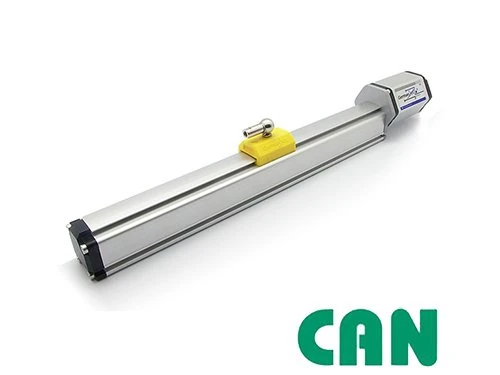
Park the machine at mechanical zero and read the sensor's unscaled raw value: on an analog interface, the PLC AI channel's raw integer (or a multimeter measurement of the actual 4-20 mA current / 0-10 V voltage); on a fieldbus interface, the position process data in the object dictionary (on a CANopen type such as the 194 CANopen series, the PDO-mapped position value). Record that number; it is the zero offset.
Then move the machine to the other end of the stroke (again avoiding the dead zone) and record the second raw value. Measure the mechanical distance between the two points with a tape, gauge blocks or the machine's own mechanical scale; do not use the drawing's nominal stroke directly — drawing stroke and actual assembled stroke often differ.
Step three: write zero and the span factor in the controller
The conversion of the standard two-point method is: actual position = (raw value − zero raw value) × calibrated stroke / (full-scale raw value − zero raw value). The analog scaling instructions of the great majority of PLCs (SCALE / NORM_X + SCALE_X) are doing exactly this; just fill the upper and lower limits with measured values rather than theoretical ones.
The Slope / Datum form used on site is the same two-point method:
- Slope = actual displacement ÷ (end-of-stroke reading − zero reading);
- Datum = Slope × zero reading;
- position = (Slope × present reading) − Datum.
Example: zero reading 0.2 V, after a 98 mm move the reading is 9.5 V → Slope = 98 ÷ (9.5 − 0.2) = 10.537, Datum = 10.537 × 0.2 = 2.106. Any later reading plugged into the third line is millimetres.
This is the PLC two-point method. To set start/end on a Series 19 analogue sensor itself, use programmer 1700 951 018; see the analogue field programmer. Do not turn both at once.
Fieldbus types usually already provide zero-offset and counting-direction objects on the device side, which can be written to the sensor so that it outputs an already-aligned position value. The benefit of this approach is that the PLC program stays generic; when the type is changed, only the device parameters need to be changed.
Analog versus fieldbus calibration
| Step | Analog interface (4-20 mA / 0-10 V) | Fieldbus interface (CANopen / EtherCAT / PROFINET and similar) |
|---|---|---|
| Where zero is written | Lower-limit parameter of the PLC scaling instruction | Zero offset in the sensor object dictionary, or conversion on the PLC side |
| Direction reverse | Swap the scaling upper and lower limits, or choose a reverse-output type (e.g. 20-4 mA) | Write the counting-direction / polarity parameter |
| Power-loss retention | Parameters live in the PLC and are retained with the program | A parameter-store instruction must be executed, otherwise power-down restores defaults |
| After a sensor swap | Re-measure two points and change the scaling parameters | Rewrite and store the zero offset |
| Verifiability | Current/voltage can be cross-checked directly with a multimeter | Depends on master diagnostics; the position object must be monitored online |
Step four: three-point verification; if it fails, go back
After calibration, reach 10%, 50% and 90% of measuring range in both directions and record the readings against measured mechanical position. There are two criteria: first, the error at each point should lie within the range obtained by converting the sensor non-linearity (typically <0.02%FS) to this measuring range; second, the difference between forward and return readings at the same point should be of the order of repeatability (around ±0.002 mm). If the mid-point error is clearly larger than at the two ends, it is not a zero problem but a span-factor or stroke-measurement error, so re-measure the ends rather than re-zeroing. Concretely it is an error in the span factor or in the mechanical-stroke measurement; re-measure the two end points rather than "trimming zero a little more". For the full acceptance method see Acceptance Testing; for locating errors see Tracking Down Reading Errors.
The three most common site calibration errors
- Using drawing stroke as the calibration stroke: assembly tolerance and end-stop thickness both change the actual stroke; it must be measured;
- Calibrating only zero, not span: a single-point calibration can only guarantee accuracy near zero; a proportional error that grows with position will appear over the full stroke;
- On a fieldbus type, changing parameters and forgetting to store: a zero offset written online that has not had a store instruction executed will revert to the factory value at the next power-up, appearing as "it was right yesterday and wrong today".
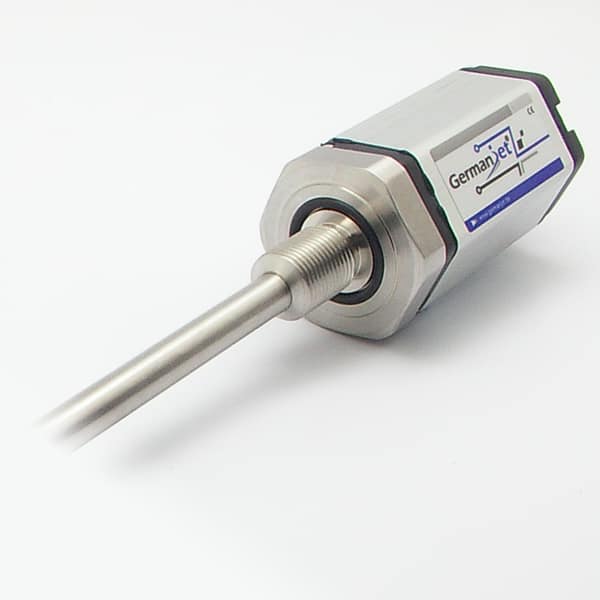
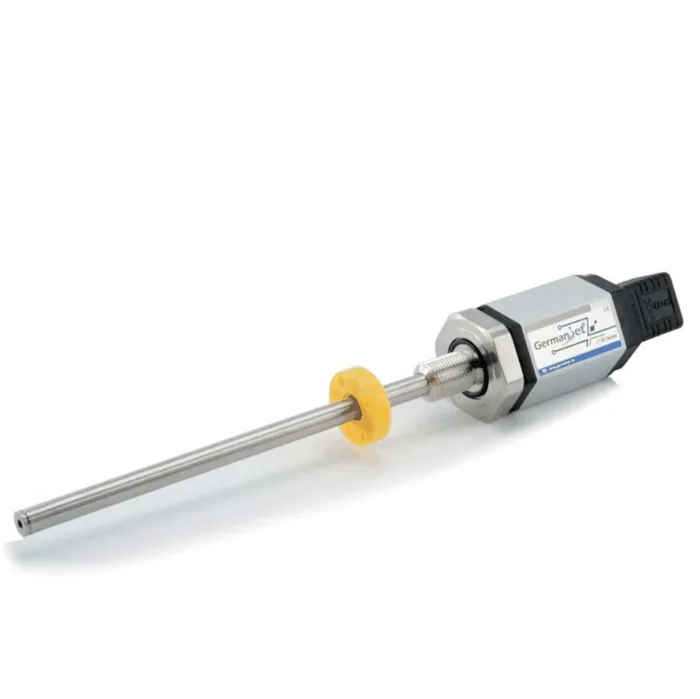
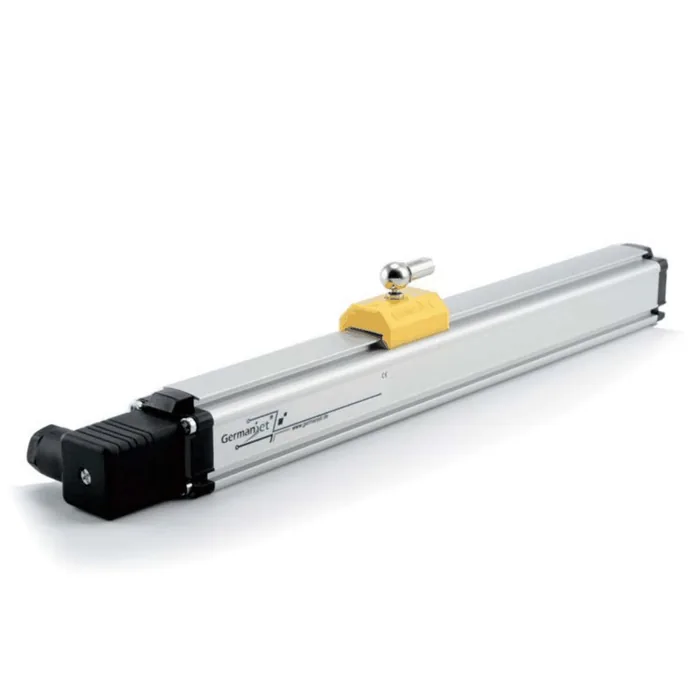
Differences of zero selection by mounting form also need attention: on cylinder-integrated types such as Series 16 cylinder-integrated and Series 17 hydraulic cylinder integrated, zero is usually referenced to the piston fully retracted; on external types such as Series 18 external, it is referenced to the carriage against a mechanical stop, and it must additionally be confirmed that the bracket does not elastically deform with stroke.
Practical tips for engineers
- Analog outputs are factory-calibrated slightly wider than the nominal stroke; after installation the machine must be recalibrated.
- The Slope / Datum formula and the 0.2 V / 9.5 V example are in Step three — do not mix them with the sensor field programmer.
Frequently Asked Questions
Q: Does a magnetostrictive displacement sensor need homing at every power-up?
No. The output is absolute position, determined by the physical position of the magnet on the waveguide. Wherever the magnet stopped during the power loss, that is the position read after power-up; no reference-point switch and no homing move are needed. Zero is set only once at installation.
Q: After calibration the reading error is largest at mid-stroke. Was zero not set correctly?
No. A zero error appears as a constant error over the full stroke. Largest error at mid-stroke usually means the span factor or the two end calibration points were measured wrongly, or the mechanical stroke does not match the drawing. The correct action is to re-measure the raw values and actual mechanical distance at the two end points and recompute the factor, not to keep trimming zero.
Q: Zero was set cold; after the machine heats up, zero has run. What then?
This is a normal expression of temperature drift. Waveguide acoustic velocity and mechanical structural length both change with temperature, especially on hydraulic systems. Recalibrate after system oil temperature has reached a stable working state. Where accuracy demand is high, temperature compensation can be added on the controller side, or a type suited to high-temperature duty chosen.
Q: The zero of a fieldbus sensor was written in; why is it wrong again the next day?
Most often the parameters were not stored. A zero offset written online exists only in volatile memory and reverts to the factory default on power-down. After writing parameters the device's parameter-store command must be executed, and an immediate power-cycle verification done to confirm that the correct position is read on power-up.
Related Products
Related Applications

Multi-Industry Application Cases for Magnetostrictive Displacement Sensors
View Details
Series 17 Hydraulic Cylinder Integrated Magnetostrictive Displacement Sensor Application Cases
View Details
Series 18 Profile Magnetostrictive Displacement Sensor Application Cases
View Details