CANopen Displacement Sensor: Node Address and Baud-Rate Faults
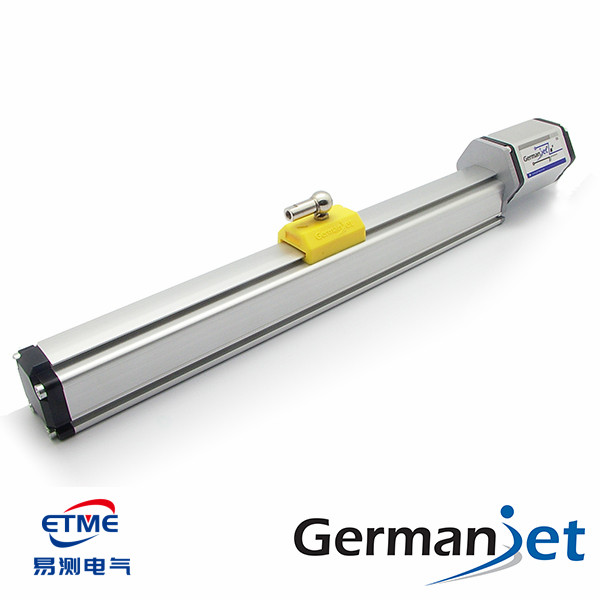
A CANopen displacement sensor failing to come online almost always boils down to an address conflict or baud-rate mismatch. When a CANopen sensor will not come onto the network, the great majority of cases have only two causes: a node-address conflict or inconsistent baud rate. The node-address range is 1–127, unique on the whole network; address 0 is reserved for NMT broadcast. Baud rate may be 10 / 20 / 50 / 125 / 250 / 500 / 800 / 1000 kbps; every node on the segment (including the master) must be identical. With these two items correct and terminating resistors in place, communication is essentially up. This article gives the configuration path, verification methods and high-frequency site pitfalls. The corresponding product is Series 194 CANopen; protocol basics are in CANopen basics: the object dictionary and the PDO/SDO division of labour.
Node address: unique on the whole network, and it determines the telegram ID
A CANopen node address (Node-ID) is more than a “number”. In the predefined connection set, the CAN identifier of each class of telegram is composed of a function-code base address + node address, so once the node address changes, the IDs of all of that node’s TPDOs, SDOs, heartbeats and other telegrams change with it. This has two direct consequences:
- An address conflict will not report “address conflict”. If two sensors are set to the same node address, their TPDOs take turns sending on the same ID. What the master sees is one position value jumping back and forth — the phenomenon looks like “the signal is jumping”, but in fact two devices are fighting for the same ID. In severe cases CAN arbitration errors are triggered, error frames surge, and a node may even be pushed into Bus-Off.
- Changing the address requires changing the master configuration in step. After changing the address, update the master receive filters and PDO mappings, or the device looks online but yields no data; store then power-cycle. The master’s receive filters and PDO mapping tables were built on the old IDs. Changing only the device and not the configuration appears as “the device is clearly on-line but data cannot be read”.
Typical address-setting methods fall into three classes: set directly by DIP switches, write the configuration object via SDO, or assign on-line using LSS (Layer Setting Services). Which a given model supports is stated in the technical documentation supplied with the goods. Whatever the method, after writing, a parameter-store command must be executed and a power-cycle used to verify, otherwise the configuration exists only in RAM.
Baud rate: fix segment length first, then rate
CAN bit timing determines a physical law: the higher the baud rate, the shorter the allowed segment length. The reason is that the round-trip propagation time of the signal on the bus must fall within one bit time to complete arbitration. Raising the rate shortens bit time, so the tolerable propagation delay shrinks. This is a physical constraint, not a product limitation.
| Baud-rate grade | Allowed segment length (relative) | Typical application |
|---|---|---|
| 1000 kbps | Shortest | Short distance inside a cabinet or a machine, few nodes, tight cycle |
| 800 / 500 kbps | Short | Internal network of a single machine; the most common compromise grade |
| 250 / 125 kbps | Medium | Whole-machine cross-rack wiring, mobile-machine vehicle networks |
| 50 / 20 / 10 kbps | Long | Plant-scale long distance, heavy interference, cycle-insensitive scenes |
Lengths in the table are relative. The usable length also depends on cable characteristic impedance, screening quality, number of connectors and number of nodes, and should be determined from the master manual and the cable specification together. The correct engineering order is: first measure the actual cable run, then back-calculate the highest usable baud rate, then drop one grade for margin. The reverse — “first fix 1 Mbps then try to make the wiring work” — usually yields intermittent faults that come and go, which are harder to troubleshoot than a complete failure. A full analysis of bus length and impedance matching is in terminating resistors and bus length: why it has to be 120 Ω.
Configuration flow and verification actions
- Plan an address table: before work starts, freeze the 1–127 address allocation on the drawing and label every device. Sensors of the same model look identical; the cost of identifying them afterwards by stripping is extremely high.
- Unify baud rate: include the master, the sensors, other slaves, and a CAN analyser connected temporarily. Any one inconsistency produces error frames across the whole network.
- Power up and verify one at a time: when commissioning a new network, connect only one slave first, confirm heartbeat and TPDO, then add stations one by one. Connecting everything at once and then troubleshooting mixes all the variables together.
- Measure resistance with power off: with power off, measure resistance between CAN_H and CAN_L. About 60 Ω means both 120 Ω terminating resistors are in place; about 120 Ω means only one; several hundred ohms or more means none.
- Store and re-check after a restart: after all parameters are written, execute store, power off and on again, and confirm that the configuration has not been lost.
High-frequency site-fault comparison
| Phenomenon | Most likely cause | Troubleshooting action |
|---|---|---|
| No telegrams at all on the whole network | Inconsistent baud rate / missing terminating resistor / CAN_H and CAN_L reversed | Check whole-network rate; measure 60 Ω with power off; swap the differential pair as a trial |
| Position value jumps back and forth between two values | Two devices share a node address | Power devices off one at a time and watch whether the jumping disappears, to locate it |
| Device on-line but no position data | Not switched to Operational / PDO not mapped | Issue the NMT start command; check TPDO mapping |
| Error-frame count rising continuously | Rate too high for the cable length / poor screen earthing | Retest one baud-rate grade lower; check screening and equipotential bonding |
| Configuration lost after a power loss | Parameter-store command not executed | Rewrite, then execute store and verify after a restart |
| Occasional dropped station, heartbeat timeout | Interference or poor contact | See troubleshooting fieldbus interference |
A fuller path for data-loss troubleshooting is in common-fault troubleshooting: inaccurate readings, jumps, no output; the match between master systems and protocols is in selection guide: which fieldbus does my PLC support?; product pin-out and parameters are in Series 194 CANopen explained; general wiring practice is in the practical fieldbus guide.
Frequently Asked Questions
Q: What is the CANopen node-address range?
Valid node addresses are 1–127; address 0 is reserved for NMT broadcast. Node addresses on the same segment must be unique. Duplicate addresses cause two devices to take turns sending on the same telegram ID, and the master sees the position value jumping back and forth.
Q: How is CANopen baud rate chosen?
10/20/50/125/250/500/800/1000 kbps are supported. The order of choice is: first measure the actual cable run, then back-calculate the highest rate usable at that length, then drop one grade for margin. The higher the baud rate, the shorter the allowed segment — a physical constraint of CAN bit timing.
Q: How can terminating resistors be judged quickly?
With power off, measure resistance between CAN_H and CAN_L: about 60 Ω means both 120 Ω terminators are in place; about 120 Ω means only one; several hundred ohms or more means none; about 40 Ω or lower means too many have been fitted.
Q: Why did it work during commissioning, but fail on power-up the next day?
In most cases parameters were written but the store command was not executed, so the configuration existed only in run-time RAM and was lost at power-off. After writing CANopen parameters, store must be executed and a power-cycle used to re-check once.
Q: What is the fastest way to locate a suspected node-address conflict?
Power devices off one at a time and watch: if the back-and-forth jumping of the position value disappears after a particular device is powered off, that device is the conflicting party. This method is faster than turning drawings or reading diagnostic telegrams.
Related Products
Related Applications
Multi-Industry Application Cases for Magnetostrictive Displacement Sensors
View Details
Series 19D Split-Type Process Displacement Sensor Application Cases
View Details
Series 19F Flexible Process Displacement Sensor Application Cases
View Details