Don't Touch the Magnetostrictive Displacement Sensor Yet: Four Layers to Check in Order
A multi-cylinder machine runs fine for six months and then starts raising sync alarms. The usual on-site sequence is: open the control screen, look at the parameters, adjust the sync gain, and when that does not help, suspect the magnetostrictive displacement sensor and swap one in.
Both steps are frequently wasted. The reason is not complicated: sync errors originate in four layers — mechanical, hydraulic, feedback and control — and control parameters sit on the top layer. Until the three below it are cleared, parameter changes only suppress the symptom, and pushing it to a limit makes the problem harder to find later.
Start with a static versus dynamic split
Before touching anything, spend ten minutes on one measurement: bring the cylinders to several fixed positions, let them settle, and record the reading difference at each. Then run them synchronised and record the difference at the same positions. Compared side by side, the two sets separate the direction.
| What you see | Which layer the error sits in |
|---|---|
| Difference present after settling, unchanged with position | Mechanical chain or calibrated zero |
| Difference present after settling, growing linearly with position | Range scaling or mechanical parallelism |
| Aligned when stopped, out of tolerance only while moving | Hydraulic split or sampling instant |
| Difference tracks speed, larger when faster | Axes not sampled at the same instant |
| Fine after start-up, worse after an hour or two | Oil temperature, internal leakage — anything time-dependent |
The value of this step is that it narrows "what to check" from four directions to one or two, without stopping the machine or dismantling anything. Reading the shape of the axis difference against position follows the same rules as multi-axis synchronisation.
Layer one: mechanical
Mechanical causes get skipped most often because nothing looks broken. Three things to examine:
- Guidance backlash. Worn guideways, sliders or tie-rod bushings leave the beam an extra degree of freedom under side load. Press a dial indicator against the side of the beam and push — the play reads directly.
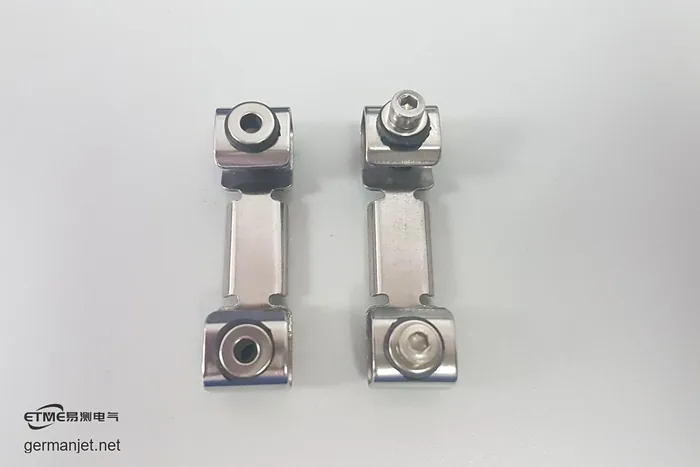
- Loose joints. Cylinder-to-beam pins and flanges, mounting bolts, magnetostrictive displacement sensor bracket fixings. Look for looseness or witness marks showing movement.
- Structural distortion. A beam that has carried off-centre load for years can take a permanent set. That shows up as a large deviation in one region of the stroke rather than a uniform one.
The criterion is simple: parallelism error in the mechanical chain must be smaller than the sync tolerance the machine requires. If the chain is already outside that, no amount of work on the other three layers brings it back.
Layer two: hydraulic
Checks here concentrate on one question — are the two flow paths actually equal?
- The splitting element. Check the divider or synchronising valve spool for wear or sticking. Disable synchronisation, run each cylinder alone, and compare full-stroke times. A clear difference means the split has already shifted.
- Internal leakage. Cylinder leakage and valve spool leakage both let one path travel further. Hold pressure and watch whether the position readings drift slowly — that gives the leakage magnitude.
- Oil temperature. Log oil temperature from start-up to the moment the fault appears. If the deviation rises with oil temperature, the direction is here.
- Trapped air. Residual air causes low-speed stick-slip and loss of sync, showing up as irregular motion rather than a steady offset. Any abnormality appearing right after an overhaul or oil change should raise this suspicion first.
A frequent mistake is judging flow from pressure. Equal pressure does not mean equal flow — with different loads the pressures are supposed to differ. Compare flows by timing each cylinder alone, not by reading gauges.
Layer three: position feedback
Only now do the magnetostrictive displacement sensors come up, and four things need checking:
- Mounting condition. On the magnetostrictive displacement sensor: bracket looseness, parallelism between rod and travel direction, and any change in the gap to the rider magnet. Common mounting errors are in external and in-cylinder mounting, bracket rigidity in building a stable mounting bracket.
- Calibration state. Whether every axis was zeroed against the same mechanical datum, and whether the range intervals are the same physical segment. Get either wrong and the loop holds a wrong state stably — see zeroing with a mechanical datum.
- Reading quality. Whether a single axis shows jitter or its last-digit noise has grown. Diagnosis is in four patterns of reading deviation and last-digit jitter from three sources.
- Signal path. Excessive extension cable, shield earthed at one end or both, and ground loops. Faults from cabling tend to look random — see shield earthed at one end or both.
One more item gets missed when replacing a magnetostrictive displacement sensor: the new unit's zero offset differs from the old one, so the axis must be recalibrated and every axis baseline re-recorded. The three-layer replacement check is in replacement cross-check.
Layer four: control
Once the three layers below are cleared, this one is worth discussing. What to examine:
- Whether sampling instants are simultaneous. Sequential reads produce speed-dependent phantom deviations — the axis difference grows with speed because it is a time difference, not a position difference. The timing budget is in how many axes one bus can carry.
- Whether the control cycle matches the hydraulic response. A cycle slower than the valve means the correction arrives after conditions have changed, showing as oscillation or slow convergence, on the same principle as response time and control cycle.
- Sync algorithm and parameters. Whether gain, integral time and deadband suit the current duty. Watch for one specific pattern: parameters pushed repeatedly towards saturation to mask a fault in the layers below.
Why the order cannot be reversed
Working from layer four downwards looks cheapest — no dismantling, no shutdown, just a few parameter edits. The trouble is that parameters hide underlying defects, and the hiding gets monotonically worse.
An example: worn guidance leaves backlash, so the beam travels slightly further under off-centre load. The controller sees the deviation and opens that cylinder's valve harder. The offset from backlash is random, so the controller keeps increasing the correction. Parameters climb, and eventually the valve runs close to saturation — the system appears to hold sync while having no correction authority left, and the first change in duty loses control outright.
Reversing the order back costs little. The static-versus-dynamic split takes ten minutes, the mechanical layer reads on a dial indicator, and the hydraulic layer can be quantified by timing each cylinder alone. Clear those three and the parameter changes actually needed are usually small.
Field notes for engineers
- After a repair, do not stop at "it lines up now". Overlay the axis-difference curves before and after. If the shape is unchanged and only the magnitude dropped, you tightened the parameters rather than fixing the cause.
- Archive the original axis-difference baseline together with oil temperature. Telling gradual from sudden later depends entirely on that baseline. Sudden means a failed component; gradual means wear and temperature — and the two are handled differently.
- Record data after each single change instead of changing several items and testing once. Change several at a time and an improvement cannot be attributed, so the next occurrence of the same fault is still undiagnosable.
Frequently Asked Questions
Q: The two cylinders are already out of line before any motion. Where do I start?
Mechanical and calibration, both of which sit outside the loop. With the machine stopped there is no flow to split and no correction being applied, so a difference that persists can only come from geometry in the mechanical chain, inconsistent magnetostrictive displacement sensor zeros, or range intervals that do not match. Check parallelism with a dial indicator, then confirm every axis was zeroed against the same datum.
Q: Aligned when stopped, out of tolerance while moving, and worse at higher speed. What does that indicate?
Suspect two things first: axes not sampled at the same instant, or a hydraulic split that has shifted. Run the same stroke at different speeds. If the difference barely changes with speed it leans hydraulic; if it grows linearly with speed it leans timing. The first points at valves and leakage, the second at bus synchronisation and how the readings are acquired.
Q: Raising the sync gain fixed it. Do I still need to investigate?
Yes. More gain suppresses small deviations but does not remove the underlying defect — it just spends more correction to chase them. Watch whether the valve is running close to saturation, which is the signal that no correction authority remains and the first change in duty will lose control. Judge by the valve output margin, not by the axis difference.
Q: We changed the oil during an overhaul and sync has been unstable since. Where to begin?
Bleed the system first. Trapped air after an overhaul or oil change causes low-speed stick-slip and loss of sync, and it shows as irregular motion rather than a steady offset. If it is still unstable after bleeding, check filters and oil condition along the contamination route — contamination typically produces a gradual drift in readings and in sync at the same time.
Related Products
Related Applications
Multi-Industry Application Cases for Magnetostrictive Displacement Sensors
View Details
Series 16 Hydraulic Rod Magnetostrictive Displacement Sensor Application Cases
View Details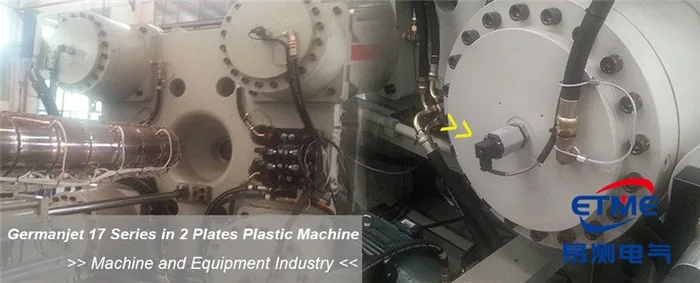
Series 17 Hydraulic Cylinder Integrated Magnetostrictive Displacement Sensor Application Cases
View Details